• XP: 9130
    LFG! Talk Shows & Podcasts
    In the last two days, I've purchased an XLR microphone, an Audio Mixer, a Boom Arm, and a Shure MV7 microphone for our show. These podcasts are about to sound clean!
    This is in addition to my new $2000 computer, which I've had for about a month now, as well as numerous other improvements.
    In the last two days, I've purchased an XLR microphone, an Audio Mixer, a Boom Arm, and a Shure MV7 microphone for our show. These podcasts are about to sound clean! This is in addition to my new $2000 computer, which I've had for about a month now, as well as numerous other improvements.
    3
  • XP: 9130
    LFG! Talk Shows & Podcasts
    Utilize the Proper Equipment

    You'll need to have the appropriate tools before you try to increase your viewership.

    The audience's viewing experience can be significantly impacted by the streaming quality. Make sure your microphone and video are of high quality. In order for your viewers to understand what you are saying, they must be able to see your facial expressions and hear it properly. The fastest way for viewers to stop watching your channel is through this.

    A reliable internet connection and dependable streaming software are also requirements if you want to give your viewers a top-notch viewing experience. There are many live streaming software solutions available (sort of like a desktop gaming app all in one). The majority of software includes green screen, live switching, multiple video sources, different video layouts, single-destination RTMP streaming, and custom transitions. When making your decision, you should consider your budget, the software you'll need, and the result you want.
    Utilize the Proper Equipment You'll need to have the appropriate tools before you try to increase your viewership. The audience's viewing experience can be significantly impacted by the streaming quality. Make sure your microphone and video are of high quality. In order for your viewers to understand what you are saying, they must be able to see your facial expressions and hear it properly. The fastest way for viewers to stop watching your channel is through this. A reliable internet connection and dependable streaming software are also requirements if you want to give your viewers a top-notch viewing experience. There are many live streaming software solutions available (sort of like a desktop gaming app all in one). The majority of software includes green screen, live switching, multiple video sources, different video layouts, single-destination RTMP streaming, and custom transitions. When making your decision, you should consider your budget, the software you'll need, and the result you want.
    1
  • XP: 9130
    LFG! Talk Shows & Podcasts
    Livestreaming Tips

    You have one if you have two; none if you only have one. Always have a backup of everything, including your computer, wires, and cameras. Audio cables and connectors, in particular, are inexpensive but difficult to come by when you need to replace them. If you're going to buy a cable or connection, make sure you get at least one spare.

    Organize your wires and connectors so that you can quickly tell someone else where to look for anything. Sort and identify your audio, video, USB cables, microphones, tools, and other items.

    To achieve a high-quality look and sound, all you need is a $50-$75 camera, a $50-$75 USB microphone, and around a $200 lighting investment.

    Check your equipment's specifications—newer isn't necessarily better. Even the most advanced technological equipment may not be ideal for live streaming.

    Before broadcasting, use a site like speedtest.net to check your internet upload speed. Any Dropbox/Google Drive programs that are operating in the background should be disabled or paused. If your speed drops lower than intended, be aware of your quality options.

    Before you go live, test everything to ensure it's operating properly and that you're familiar with the controls and functionality of the live stream program you're using. On that live test run, get comments from a friend or coworker to figure out what will take your attention in the real deal.

    If something worked yesterday but not today, try changing as many things as you can – but only one at a time so you can isolate factors. Begin with the wires and work your way through the setup, making use of all of your backup components along the way.

    If you intend to speak, keep the background noise to a minimum. This can be accomplished with a lapel mic or even a standard headphone-mic combination. If it's windy, find a cover to keep the wind at bay. The use of a foam wind cover on the lapel mic is beneficial. If you have OBS, use it to add filters to your microphone to eliminate background noise and make your voice crystal clear.

    Regular broadcasts are essential for growing a following and increasing engagement when live streaming. If all of your material is created on the spur of the moment, you won't be able to build a following. Humans are creatures of habit by nature. When we like something, we will want to incorporate it into our daily life if we know when it will occur.

    Take the time to engage in casual chats, give tips & tricks, and give guidance with the groups you're a member of. If they know you're not just in it for yourself, you're more likely to grow. People appreciate individuals who can humanize themselves and communicate with them outside of their usual content. Unlike some that will simply spam their links.

    Do you find these streamer advice suggestions to be useful? Would you like me to speak more about them in the future? Let me know!
    Livestreaming Tips You have one if you have two; none if you only have one. Always have a backup of everything, including your computer, wires, and cameras. Audio cables and connectors, in particular, are inexpensive but difficult to come by when you need to replace them. If you're going to buy a cable or connection, make sure you get at least one spare. Organize your wires and connectors so that you can quickly tell someone else where to look for anything. Sort and identify your audio, video, USB cables, microphones, tools, and other items. To achieve a high-quality look and sound, all you need is a $50-$75 camera, a $50-$75 USB microphone, and around a $200 lighting investment. Check your equipment's specifications—newer isn't necessarily better. Even the most advanced technological equipment may not be ideal for live streaming. Before broadcasting, use a site like speedtest.net to check your internet upload speed. Any Dropbox/Google Drive programs that are operating in the background should be disabled or paused. If your speed drops lower than intended, be aware of your quality options. Before you go live, test everything to ensure it's operating properly and that you're familiar with the controls and functionality of the live stream program you're using. On that live test run, get comments from a friend or coworker to figure out what will take your attention in the real deal. If something worked yesterday but not today, try changing as many things as you can – but only one at a time so you can isolate factors. Begin with the wires and work your way through the setup, making use of all of your backup components along the way. If you intend to speak, keep the background noise to a minimum. This can be accomplished with a lapel mic or even a standard headphone-mic combination. If it's windy, find a cover to keep the wind at bay. The use of a foam wind cover on the lapel mic is beneficial. If you have OBS, use it to add filters to your microphone to eliminate background noise and make your voice crystal clear. Regular broadcasts are essential for growing a following and increasing engagement when live streaming. If all of your material is created on the spur of the moment, you won't be able to build a following. Humans are creatures of habit by nature. When we like something, we will want to incorporate it into our daily life if we know when it will occur. Take the time to engage in casual chats, give tips & tricks, and give guidance with the groups you're a member of. If they know you're not just in it for yourself, you're more likely to grow. People appreciate individuals who can humanize themselves and communicate with them outside of their usual content. Unlike some that will simply spam their links. Do you find these streamer advice suggestions to be useful? Would you like me to speak more about them in the future? Let me know!
    3
  • XP: 9130
    LFG! Talk Shows & Podcasts
    Hey look, I did a thing! Are you proud of me now? 馃ぃ

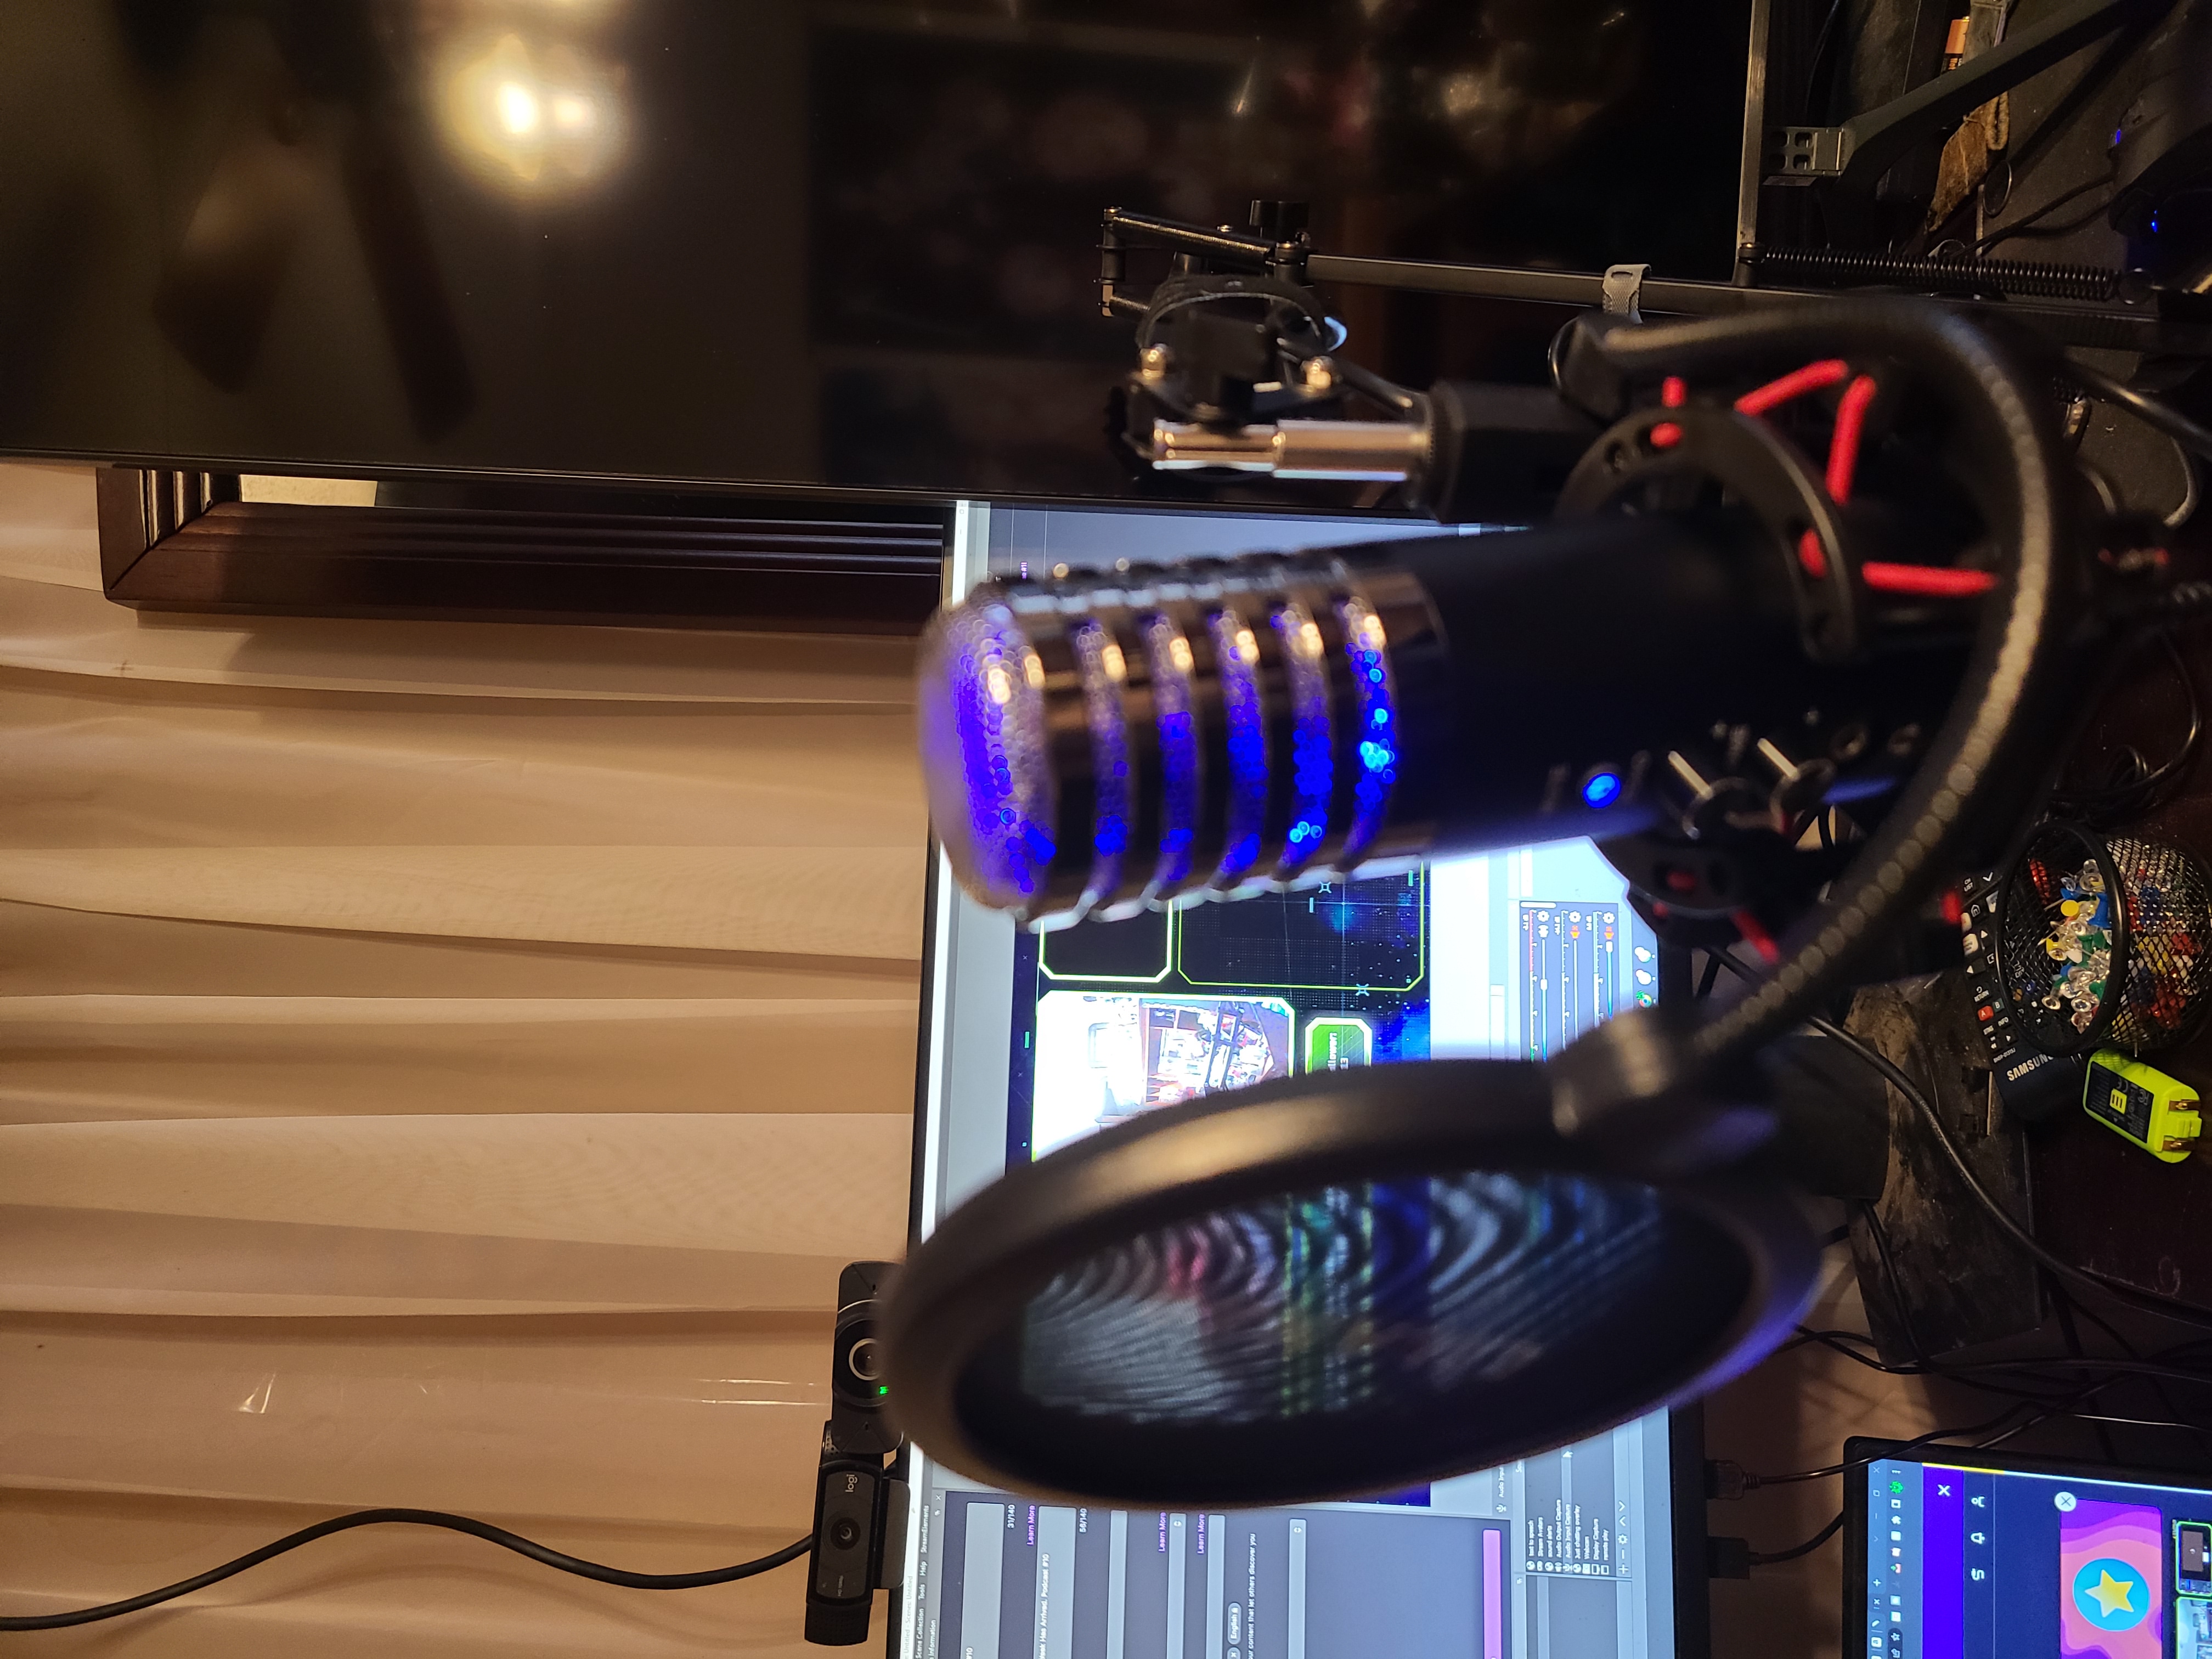
    Anyways my new microphone for podcasting came in.
    Hey look, I did a thing! Are you proud of me now? 馃ぃ Anyways my new microphone for podcasting came in.
    2
  • XP: 285
    I started streaming on an extremely low budget and most of that went into buying a new PC, as my 10 year old MacBook was not up to the task. I had less than $500 to start my streaming career. As such, I scoured the web for FREE content creation tools, most of which I still use today. Figured I would share in case you all find this useful. If any of this helps, feel free to drop your guy a Twitch follow (bottom of this post) as a thank you.

    • SNAP CAMERA - I love this thing. Think SnapChat for your webcam. You can set Snap Camera to use your webcam as its source, THEN add Snap Camera as your webcam source in your streaming software. Go back to Snap Camera, search, and apply a filter you like, then that filter is on your stream! Some of them are buggy and will crash the app (your camera freezes) and some cause a delay on the video feed, so run tests off stream first (just record yourself speaking with the filter on and watch the clip). I currently use just 4 filters, but there are tons of options if you want to get creative. The picture of me on this post was taken from my webcam through Snap Camera. Applied a blur filter to clear out my messy garage.

    • CANVA dot com - I used this website to make every graphic in my stream, on my channel, and most of my other social media sites. Sign up for the free account, then click Create Design and search for Twitch. You'll get several options like banner, panels, etc. Lots of free images and backgrounds to use. Of course the paid ones are better, but the free library is enough to get you started, especially for newer streamers like us. If you need help building out your channel, start here. The schedule image on this post was made on Canva.

    • DaVinci Resolve - I use this for my video editing for Youtube. There is a STEEP learning curve for using this, so find tutorials (on Youtube, ironically) to get you going.

    • GIMP - A free image editing program. Again, there is a STEEP learning curve for this. I've used Photoshop and this was tougher to figure out, but once you get there, it's great. This can replace Canva for your image work if you're looking to step up your game.

    • SNAZ - This is a very easy tool that, among several other things, help you to add a countdown to your Starting Soon screen. There's a tutorial for using it on the website, including setting it up and adding it to your streaming software. That's all I currently use it for, but there are several options to explore.

    • STREAM LADDER - If you want to post to Youtube Shorts, IG Reelz, or TikTok, you will LOVE this. After your stream, go back through your VOD and create some clips. Then go into your Twitch Dashboard and either download those clips or just copy the direct links to them. Then go to Stream Ladder's website and upload or enter the link. Stream Ladder will help you pick a layout, crop the clip to the vertical format those sites require, and cut out your game facecam to put on top. Boom! Now you have a clip to post!

    • EPOC CAM - There is a free and paid version of this app. I bought the paid version (for just $8) to get rid of the watermark, but you can crop it out. If you're like me, your cellphone's camera is better than any low to average price webcam you can find. This app allows you to use your phone as a webcam. There are also filters built into the app, including a (crude) green screen and a very neat 'Iron Man' look. You download the app on your phone, then download the drivers to your PC. I STRONGLY suggest using the USB option as the WiFi is fairly delayed, but worse case scenario you can just delay your mic's audio to match. Note that the EpocCam app has to be open on your phone to work, so you can't be checking Twitter or any texts midstream. EpocCam also allows you to use your phone speaker as a microphone as well.

    • WO MIC - Turn your phone into your streaming microphone. Download on your phone AND your PC. Make sure both of those are on the same Wifi connect. Then you start the app, open the Wo Mic PC software, click connect, and enter the IP address shown on your phone. Instant microphone. I used this until I saved up to buy my own mic.

    I hope some of these tools are helpful as you rocket to the top of the streaming mountain! Again, if you found any of this helpful, please drop by my channel, drop a follow, and check out a stream.

    >>>>> BEGIN CHEAP PLUG <<<<<

    Ever been curious about Virtual Reality gaming? My name's Mike and I'm a VR variety streamer on a mission to showcase how fun and immersive VR gaming can be.

    This week, as a thank you for hitting 50 followers, I'm starting out with a face cam for gameplay so you can all see me shriek like a scared little baby as I play Five Nights at Freddy's in VR. I play 3 different games a week (one action, one adventure/platformer, and one mystery/puzzler).

    If you are so inclined, please check me out at https://www.twitch.tv/liveopenmike

    Thanks for reading and for your support.
    I started streaming on an extremely low budget and most of that went into buying a new PC, as my 10 year old MacBook was not up to the task. I had less than $500 to start my streaming career. As such, I scoured the web for FREE content creation tools, most of which I still use today. Figured I would share in case you all find this useful. If any of this helps, feel free to drop your guy a Twitch follow (bottom of this post) as a thank you. • SNAP CAMERA - I love this thing. Think SnapChat for your webcam. You can set Snap Camera to use your webcam as its source, THEN add Snap Camera as your webcam source in your streaming software. Go back to Snap Camera, search, and apply a filter you like, then that filter is on your stream! Some of them are buggy and will crash the app (your camera freezes) and some cause a delay on the video feed, so run tests off stream first (just record yourself speaking with the filter on and watch the clip). I currently use just 4 filters, but there are tons of options if you want to get creative. The picture of me on this post was taken from my webcam through Snap Camera. Applied a blur filter to clear out my messy garage. • CANVA dot com - I used this website to make every graphic in my stream, on my channel, and most of my other social media sites. Sign up for the free account, then click Create Design and search for Twitch. You'll get several options like banner, panels, etc. Lots of free images and backgrounds to use. Of course the paid ones are better, but the free library is enough to get you started, especially for newer streamers like us. If you need help building out your channel, start here. The schedule image on this post was made on Canva. • DaVinci Resolve - I use this for my video editing for Youtube. There is a STEEP learning curve for using this, so find tutorials (on Youtube, ironically) to get you going. • GIMP - A free image editing program. Again, there is a STEEP learning curve for this. I've used Photoshop and this was tougher to figure out, but once you get there, it's great. This can replace Canva for your image work if you're looking to step up your game. • SNAZ - This is a very easy tool that, among several other things, help you to add a countdown to your Starting Soon screen. There's a tutorial for using it on the website, including setting it up and adding it to your streaming software. That's all I currently use it for, but there are several options to explore. • STREAM LADDER - If you want to post to Youtube Shorts, IG Reelz, or TikTok, you will LOVE this. After your stream, go back through your VOD and create some clips. Then go into your Twitch Dashboard and either download those clips or just copy the direct links to them. Then go to Stream Ladder's website and upload or enter the link. Stream Ladder will help you pick a layout, crop the clip to the vertical format those sites require, and cut out your game facecam to put on top. Boom! Now you have a clip to post! • EPOC CAM - There is a free and paid version of this app. I bought the paid version (for just $8) to get rid of the watermark, but you can crop it out. If you're like me, your cellphone's camera is better than any low to average price webcam you can find. This app allows you to use your phone as a webcam. There are also filters built into the app, including a (crude) green screen and a very neat 'Iron Man' look. You download the app on your phone, then download the drivers to your PC. I STRONGLY suggest using the USB option as the WiFi is fairly delayed, but worse case scenario you can just delay your mic's audio to match. Note that the EpocCam app has to be open on your phone to work, so you can't be checking Twitter or any texts midstream. EpocCam also allows you to use your phone speaker as a microphone as well. • WO MIC - Turn your phone into your streaming microphone. Download on your phone AND your PC. Make sure both of those are on the same Wifi connect. Then you start the app, open the Wo Mic PC software, click connect, and enter the IP address shown on your phone. Instant microphone. I used this until I saved up to buy my own mic. I hope some of these tools are helpful as you rocket to the top of the streaming mountain! Again, if you found any of this helpful, please drop by my channel, drop a follow, and check out a stream. >>>>> BEGIN CHEAP PLUG <<<<< Ever been curious about Virtual Reality gaming? My name's Mike and I'm a VR variety streamer on a mission to showcase how fun and immersive VR gaming can be. This week, as a thank you for hitting 50 followers, I'm starting out with a face cam for gameplay so you can all see me shriek like a scared little baby as I play Five Nights at Freddy's in VR. I play 3 different games a week (one action, one adventure/platformer, and one mystery/puzzler). If you are so inclined, please check me out at https://www.twitch.tv/liveopenmike Thanks for reading and for your support.
  • XP: 690
    *****I want to know everyone’s opinion!*****
    What is the best Gaming Headset or Headset/Microphone combination for gaming or streaming.

    I’ll go first:
    Rig 800lx headset w/ blue yeti nano mic
    *****I want to know everyone’s opinion!***** What is the best Gaming Headset or Headset/Microphone combination for gaming or streaming. I’ll go first: Rig 800lx headset w/ blue yeti nano mic
    1
  • XP: 3828
    I have a question 鈦夛笍

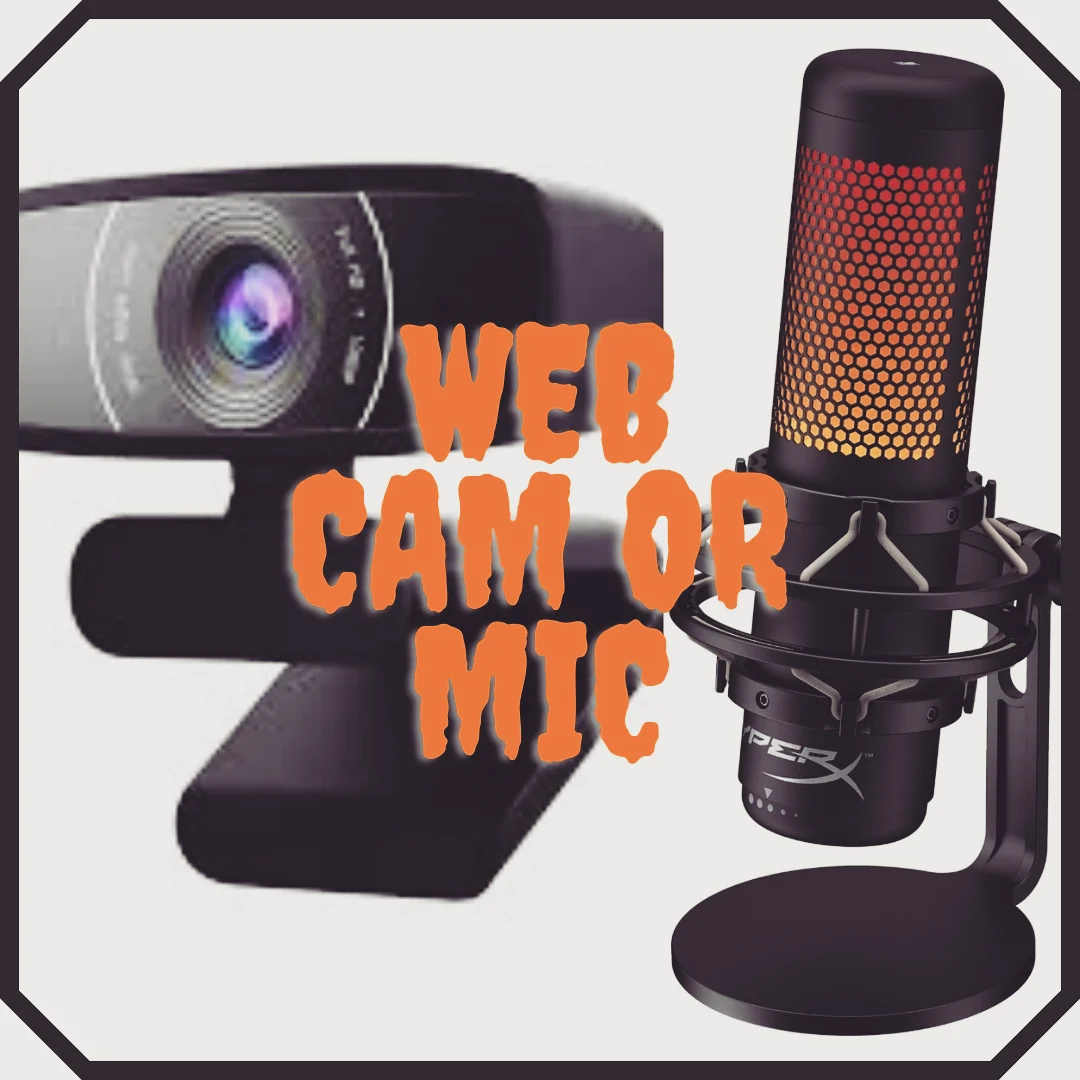
    Which is more important to have first a (Web cam or a Microphone) for starting out your streaming/video content

    #video #mic #microphone #debate #web #livewebcam #cam #camera #green #texas #price #2021 #streamer #stream #streamers #streaming #streamingsetup #streaminglive #setup #or #which #content #videogames #videos #halloween #october
    I have a question 鈦夛笍 Which is more important to have first a (Web cam or a Microphone) for starting out your streaming/video content #video #mic #microphone #debate #web #livewebcam #cam #camera #green #texas #price #2021 #streamer #stream #streamers #streaming #streamingsetup #streaminglive #setup #or #which #content #videogames #videos #halloween #october
    1
  • XP: 3828
    This is a follow up to my previous post.

    All on Amazon

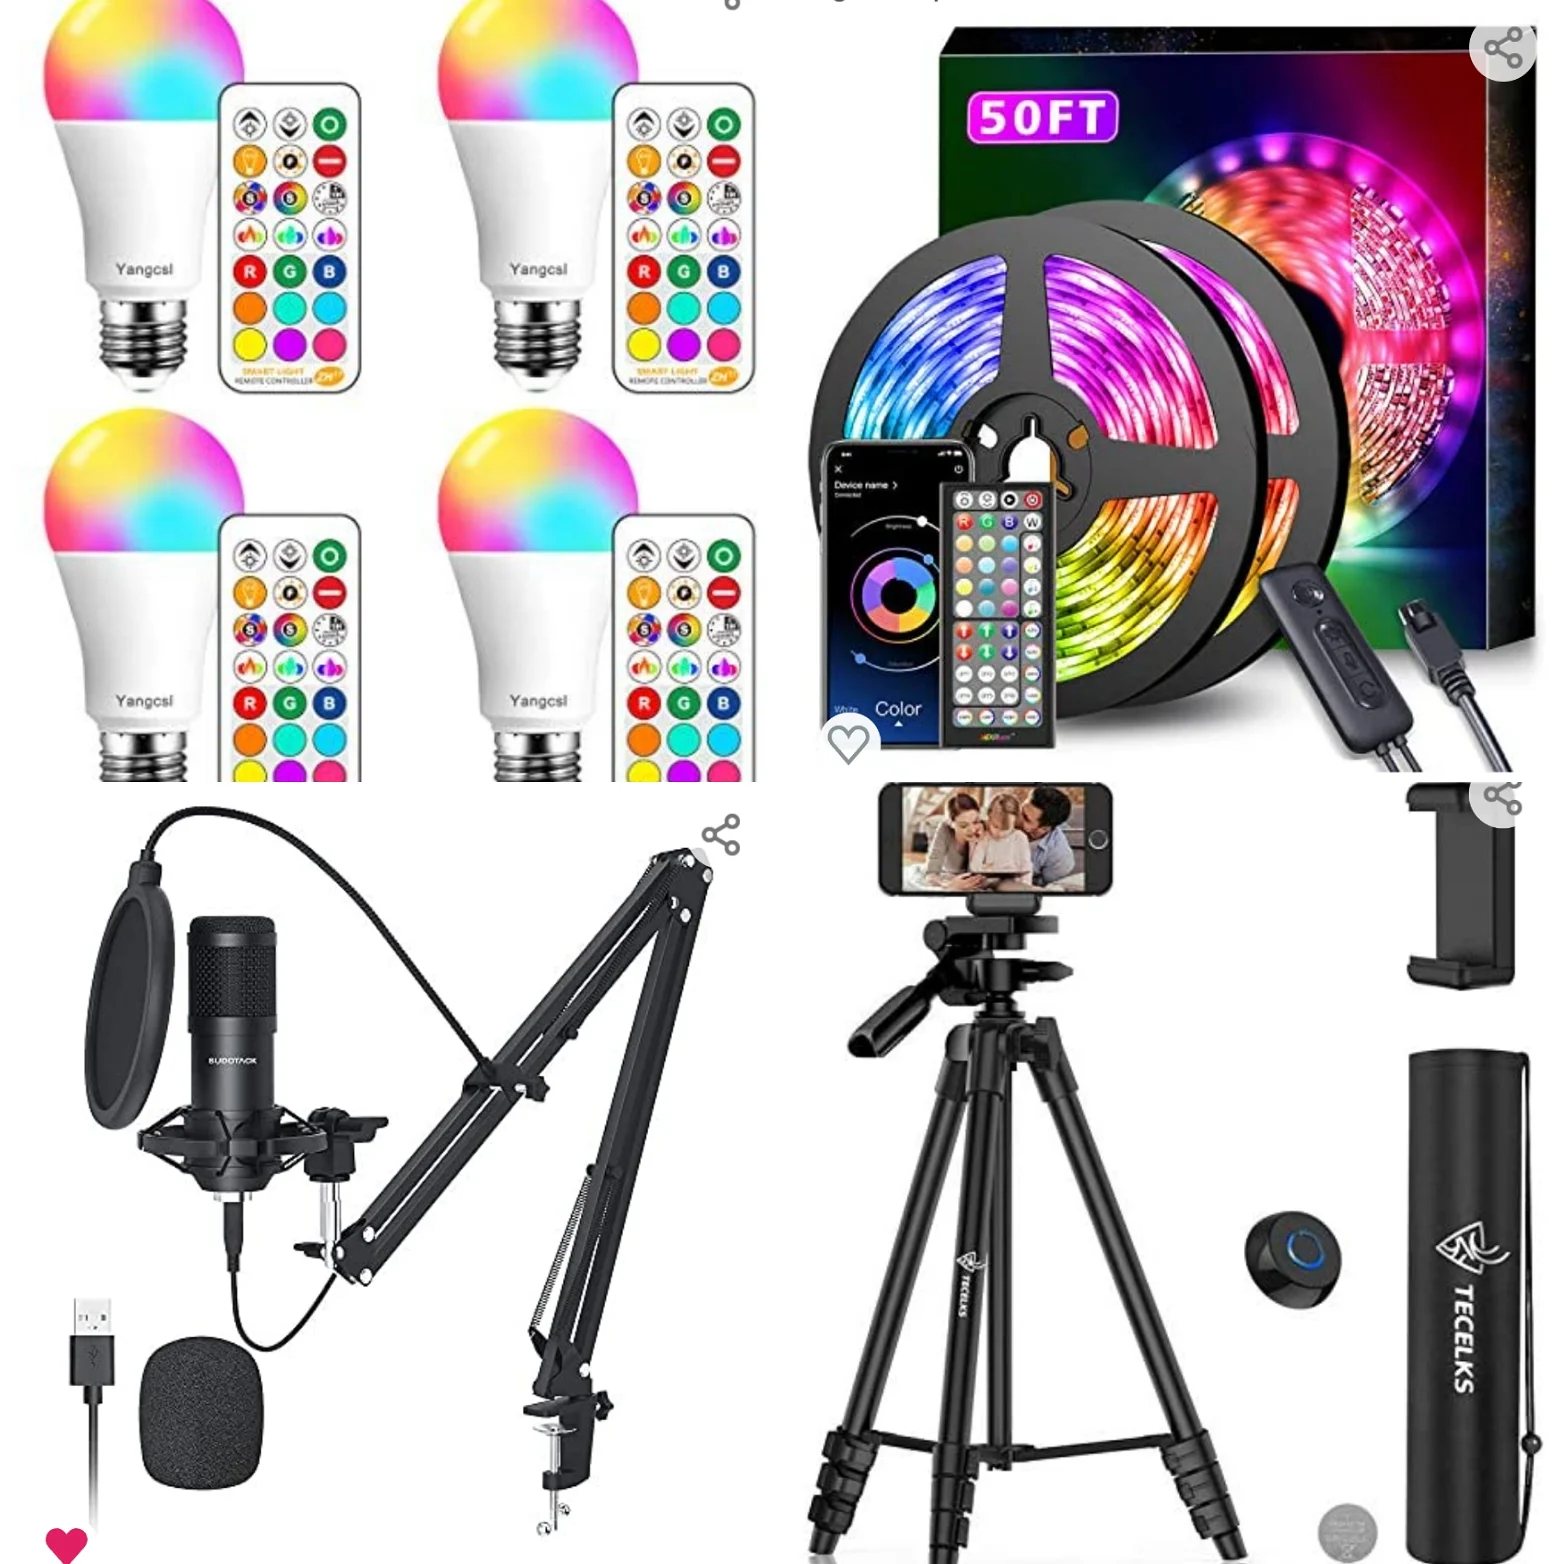
    My starter kit for streaming. Total of around $125 USD

    SUDOTACK Condenser mic - $53 (I personally use)

    TECELKS Phone Tripod 55 - $24 (I personally use)

    Any 50ft LED light strip - Around $20

    Any 4pack of color LED light bulbs around $25

    Use your Smart phone as your webcam - $0

    #kit #streamer #stream #content #video #gg #greasygamer #2021 #amazon #amazonfinds #mic #microphone #cam #phone #smart #budget #cheaper #lights #lighting #trovo #youtube #tip #tricks #green #amazing #creator
    This is a follow up to my previous post. All on Amazon My starter kit for streaming. Total of around $125 USD SUDOTACK Condenser mic - $53 (I personally use) TECELKS Phone Tripod 55 - $24 (I personally use) Any 50ft LED light strip - Around $20 Any 4pack of color LED light bulbs around $25 Use your Smart phone as your webcam - $0 #kit #streamer #stream #content #video #gg #greasygamer #2021 #amazon #amazonfinds #mic #microphone #cam #phone #smart #budget #cheaper #lights #lighting #trovo #youtube #tip #tricks #green #amazing #creator
    4
  • PSVR 2 gets a launch date by Sony
    Prepare for VR by Playstation Round 2 or just Playstation VR 2 or MORE SIMPLE, PSVR 2… and your wallet if you really need to have a gadget that is practically more expensive than a Playstation 5 console. That’s right. Sony confirmed that the PSVR 2 will be released on February 22nd and will go with a MSRP of 549.99. Hefty $50 more than the suggested retail price of the WHOLE...
  • Twitch suspends Boost Train while adds new categories
    While looking how I can improve my tactics on how the Twitch algorithm makes me at least “visible” in content playing in surreal hours, I manage to see a boosting feature that ironically, became news by the end of the week. Labeled as an experimental feature for this kind of purposes, Twitch confirmed that it was pulling the plug to the Boost Train because it was being misused for...
    3
No data to show
No data to show
No data to show
No data to show